kelly
grant
Bolivar, MO
- Aircraft Year
- 1977
- Aircraft Type
- 112TCA
- Reg Number
- N4645W
- Serial Number
- 13175
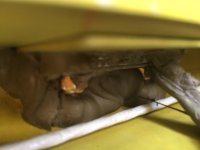
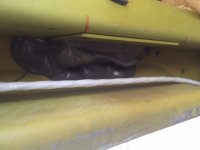
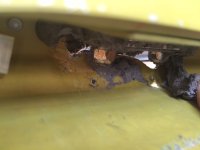
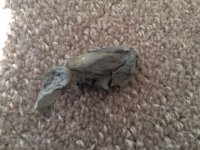
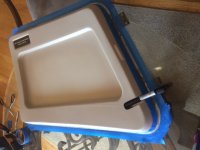
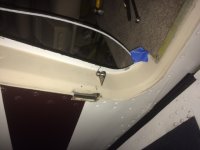
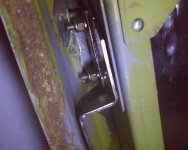
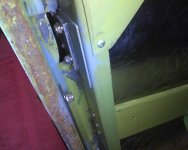
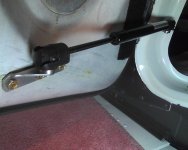
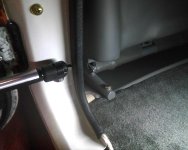
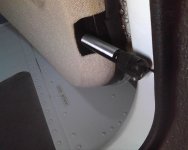
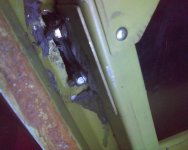
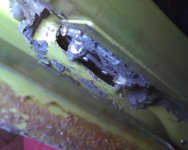
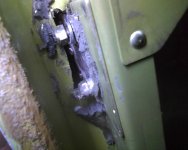
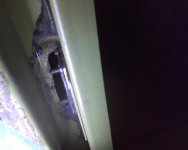
Re: Baggage Door Gas Spring
Good idea. Reminds me of the plastic scraper I fashioned to remove fuel tank sealer between nuts. (That was a January cold winter hours on the floor job too!)
This stuff is hard so plexiglass sounds like the right stuff. k
Kelly,
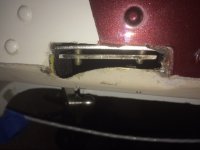
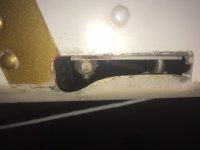
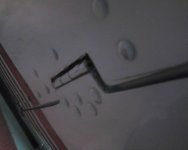
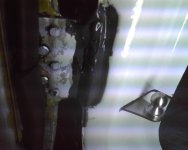
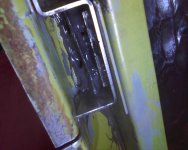
One thing I have always used is a home made chisel made out of 3/8" plexiglass. Just put a 30-45 deg edge on it and however wide you need to get in there. The reason for plastic and not a putty knife is if you gouge the metal it creates a stress point for a future crack.
Good idea. Reminds me of the plastic scraper I fashioned to remove fuel tank sealer between nuts. (That was a January cold winter hours on the floor job too!)
This stuff is hard so plexiglass sounds like the right stuff. k

")